aunt — Auto Unattend
aunt automatise l’installation de Windows avec AutoUnattend.xml et réduit la taille des images.
Utilisation
aunt -h affiche l’aide, aunt sans argument vérifie les dépendances puis affiche l’aide :
usage: aunt [-h] [-aimnqvy] [-e ED] [-k KEY] [-l LANG] [-p NAME] [-s SUF] ISO [FILE] ...

Auto Unattend 0.3

positional arguments:
  ISO                   Windows.iso to be automated
  FILE ...              include custom files and directories

optional arguments:
  -h, --help            show this help message and exit
  -a, --all             flags -mny
  -e ED, --edition ED   Core, CoreN, Professional... not -e: registry
  -i, --inplace         rewrite ISO
  -k KEY, --key KEY     auto-activate... not -k: limited features
  -l LANG, --lang LANG  en-US, fr-FR... not -l: lang.ini
  -m, --microsoft       no Microsoft account
  -n, --network         no network setup
  -p NAME, --pc NAME    computer name... not -p: PC
  -q, --quiet           no output
  -s SUF, --suffix SUF  append to ISO name... not -s: _
  -v, --verbose         detail actions in bash syntax
  -y, --yes             accept license
aunt Windows.iso réécrit le *.iso UDF amorçable et affiche les étapes :
extract Windows.iso to _tmp
query EditionID
read lang.ini
read boot.wim
reduce boot.wim
read install.esd
reduce install.esd
write AutoUnattend.xml
write Windows.iso
delete _tmp
aunt -v Windows.iso détaille les actions en syntaxe bash, les mots grep mv rm sont pratiques pour comprendre ce qui se passe, bien que ces actions soient écrites en Python pur :
find dependencies
  C:\Program Files\7-Zip\7z.exe
  C:\Windows\System32\dism.exe
  C:\Program Files\Quix0\oscdimg.exe

extract Windows.iso to _tmp
  7z x -y -o_tmp Windows.iso bootmgr{,.efi} boot\{bcd,bood.sdi,bootfix.bin,etfsboot.com} efi\microsoft\boot\{bcd,efisys.bin} sources\{boot.wim,compres.dll,install.esd,lang.ini,setup.exe}

query EditionID
  reg query 'HKEY_LOCAL_MACHINE\Software\Microsoft\Windows NT\CurrentVersion' /v EditionID
  = Core

read lang.ini
  grep -Eom1 '^([a-z]{2}-[a-zA-Z]{2}) ' lang.ini
  = fr-fr

read boot.wim
  dism /Get-WimInfo /WimFile:boot.wim

reduce boot.wim
  dism /Export-Image /SourceImageFile:boot.wim /SourceIndex:2 /DestinationImageFile:boot.wim_
  mv boot.wim_ boot.wim

read install.esd
  dism /Get-WimInfo /WimFile:install.esd

reduce install.esd
  dism /Export-Image /SourceImageFile:install.esd /SourceIndex:1 /DestinationImageFile:install.esd_
  mv install.esd_ install.esd

write AutoUnattend.xml

write Windows_.iso
  oscdimg -u2 -bootdata:2#p0,e,b_tmp\boot\etfsboot.com#pEF,e,b_tmp\efi\microsoft\boot\efisys.bin _tmp Windows_.iso

delete _tmp
  rm -r _tmp
Les commandes dism ci-dessus suppriment toutes les éditions de Windows autres que celle choisie par l’option -e. Sans -e suppose que l’édition désirée est la même que EditionID de l’hôte.
Il est possible d’inclure des fichiers et dossiers personnels dans l’ISO:
aunt Windows.iso ExecTI.exe python-3.7.2-amd64.exe
-a équivaut à -mny, ce qui génère un AutoUnattend.xml comme ci-dessous :
<?xml encoding="utf-8"?>
<unattend>
    <settings pass="WindowsPE">
        <component name="Microsoft-Windows-International-Core-WinPE" ...>
            <UILanguage>fr-fr</UILanguage>
        </component>
        <component name="Microsoft-Windows-Setup" ...>
            <ImageInstall>
                <OSImage>
                    <InstallFrom>
                        <MetaData>
                            <Key>/IMAGE/INDEX</Key>
                            <Value>1</Value>
                        </MetaData>
                    </InstallFrom>
                </OSImage>
            </ImageInstall>
            <UserData>
                <ProductKey>
                    <Key></Key>
                </ProductKey>
                <AcceptEula>true</AcceptEula>
            </UserData>
        </component>
    </settings>
    <settings pass="specialize">
        <component name="Microsoft-Windows-Shell-Setup" ...>
            <ComputerName>PC</ComputerName>
        </component>
    </settings>
    <settings pass="OOBESystem">
        <component name="Microsoft-Windows-International-Core" ...>
            <SystemLocale>fr-fr</SystemLocale>
        </component>
        <component name="Microsoft-Windows-Shell-Setup" ...>
            <OOBE>
                <HideWirelessSetupInOOBE>true</HideWirelessSetupInOOBE>
                <HideOnlineAccountScreens>true</HideOnlineAccountScreens>
            </OOBE>
        </component>
    </settings>
</unattend>
État de sortie :
0: succès 1: fichier manquant 2: édition manquante dans le fichier d’image
Écrans
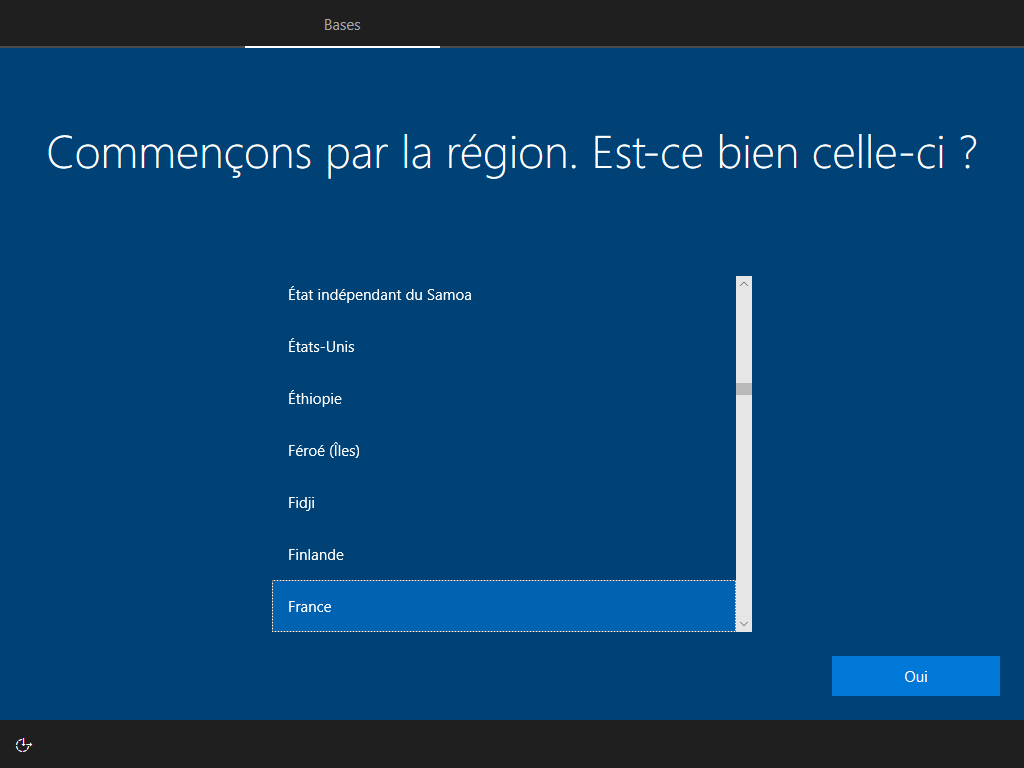
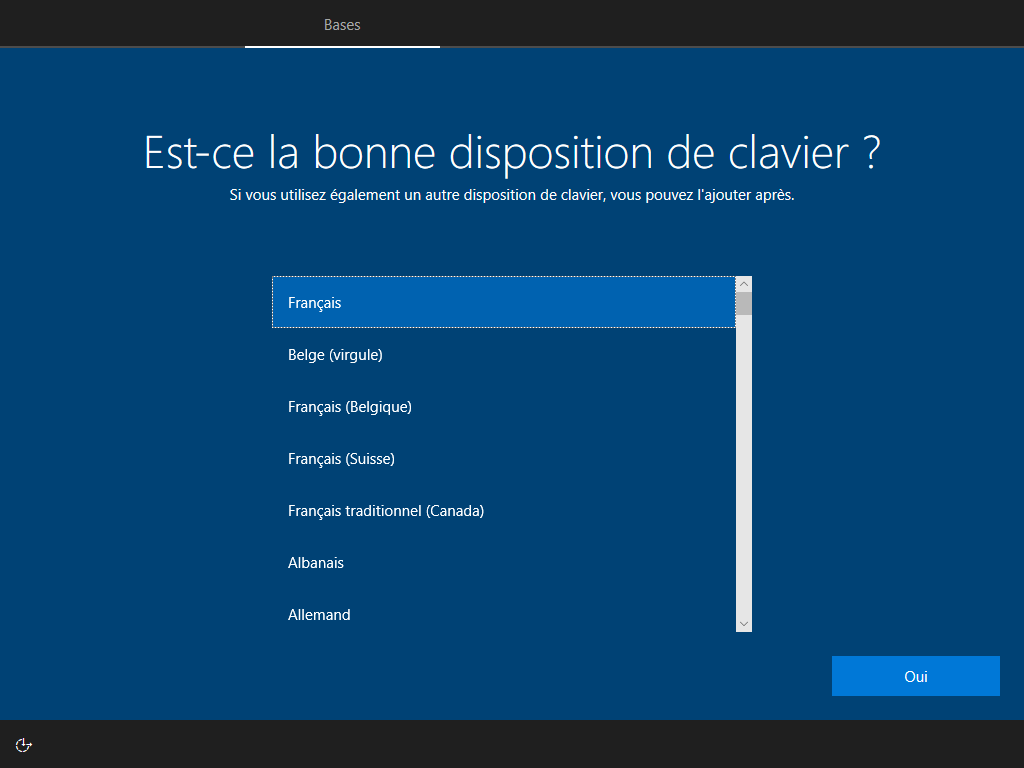
Écran caché, --lang ou lang.ini définit la langue :
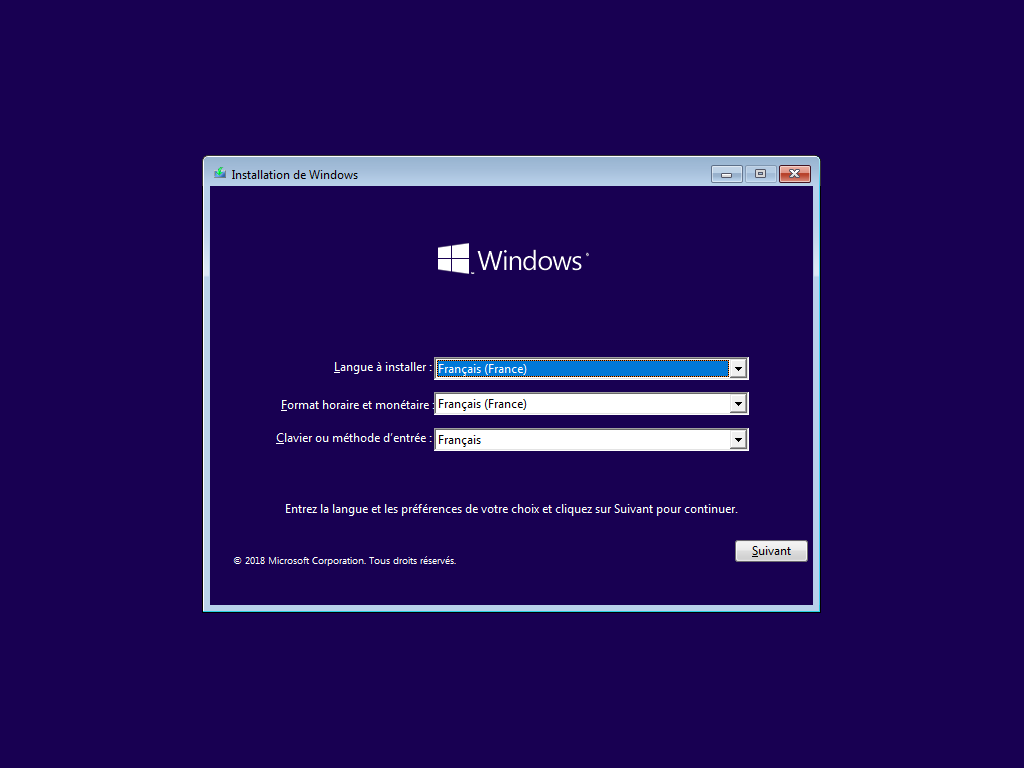
Écran caché :
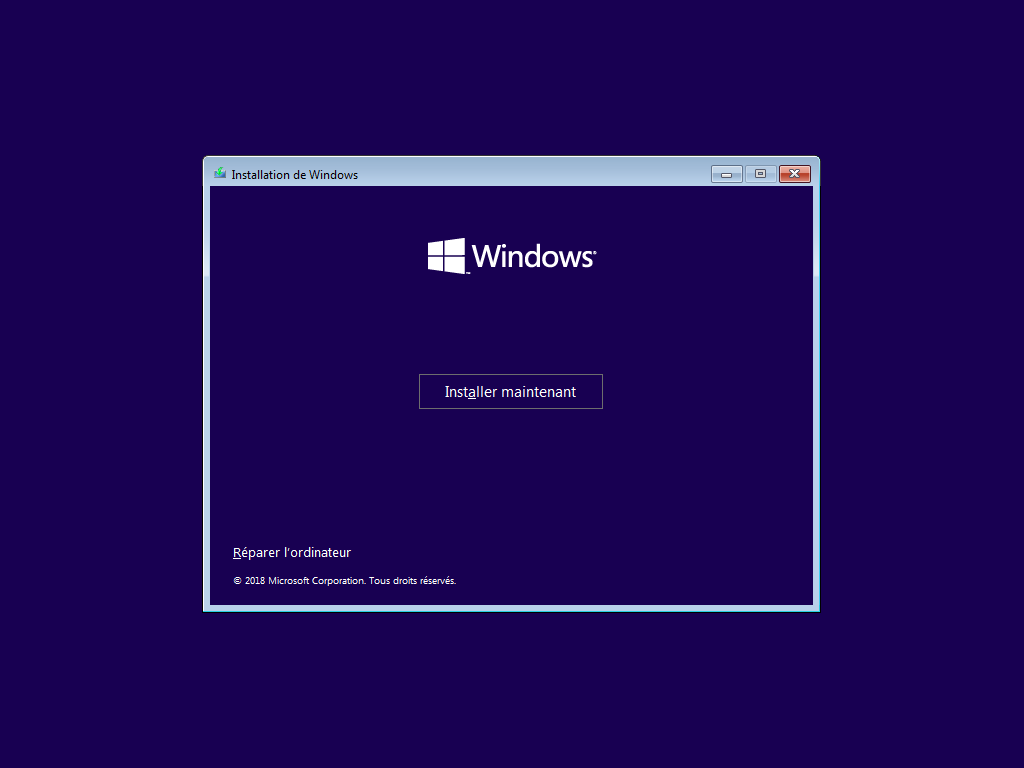
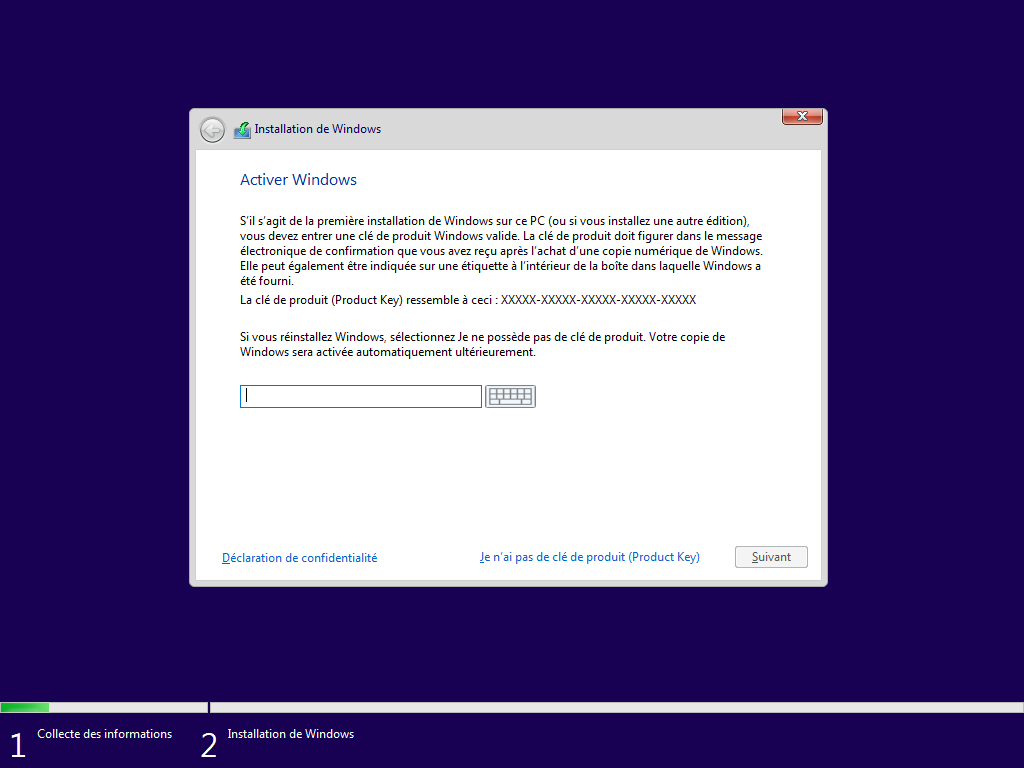
Écran caché, --key définit la clé d’activation sinon continue sans clé :
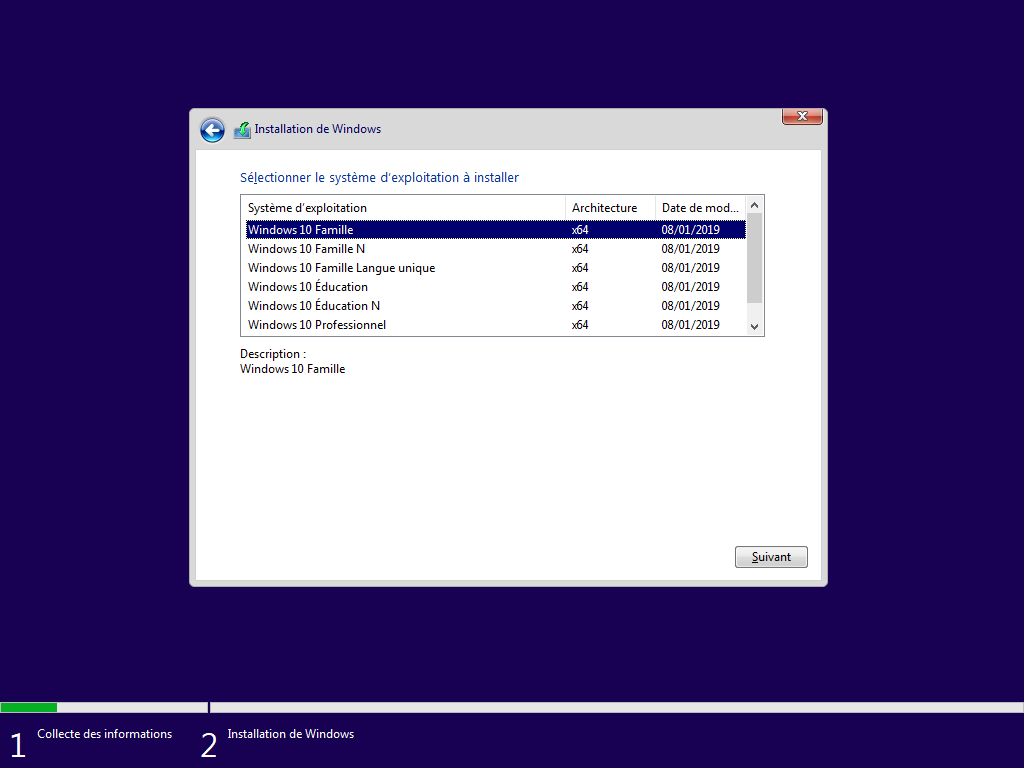
Écran caché, --edition ou EditionID de l’hôte définit l’édition de Windows :
--yes accepte la licence et cache cet écran :
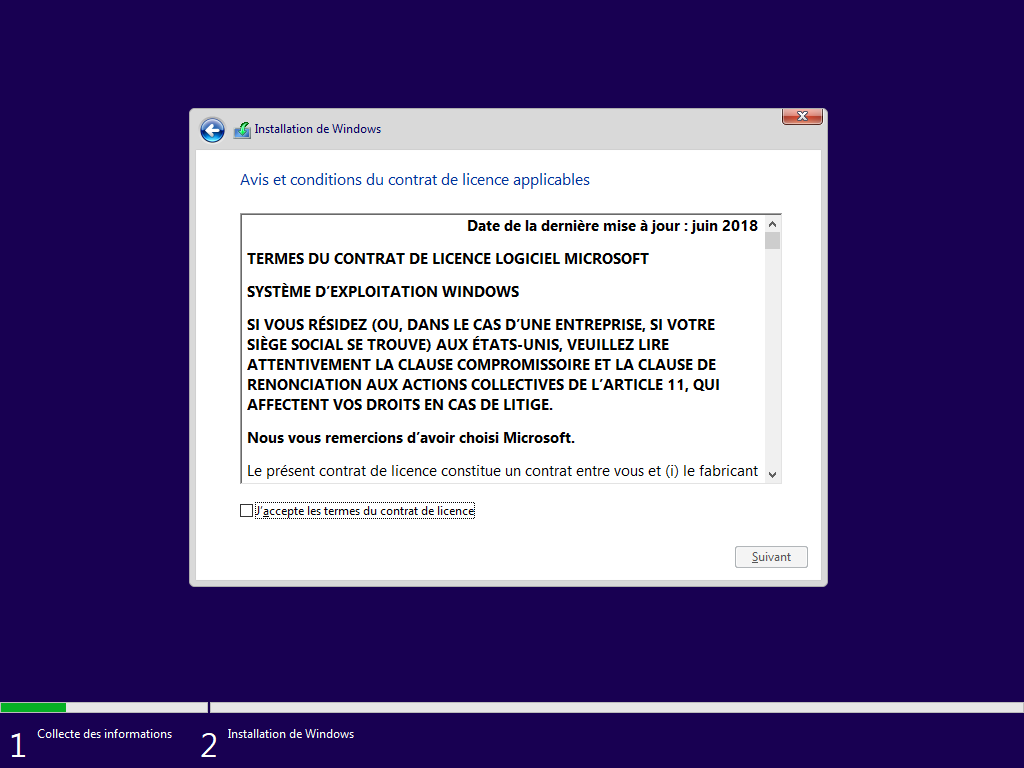
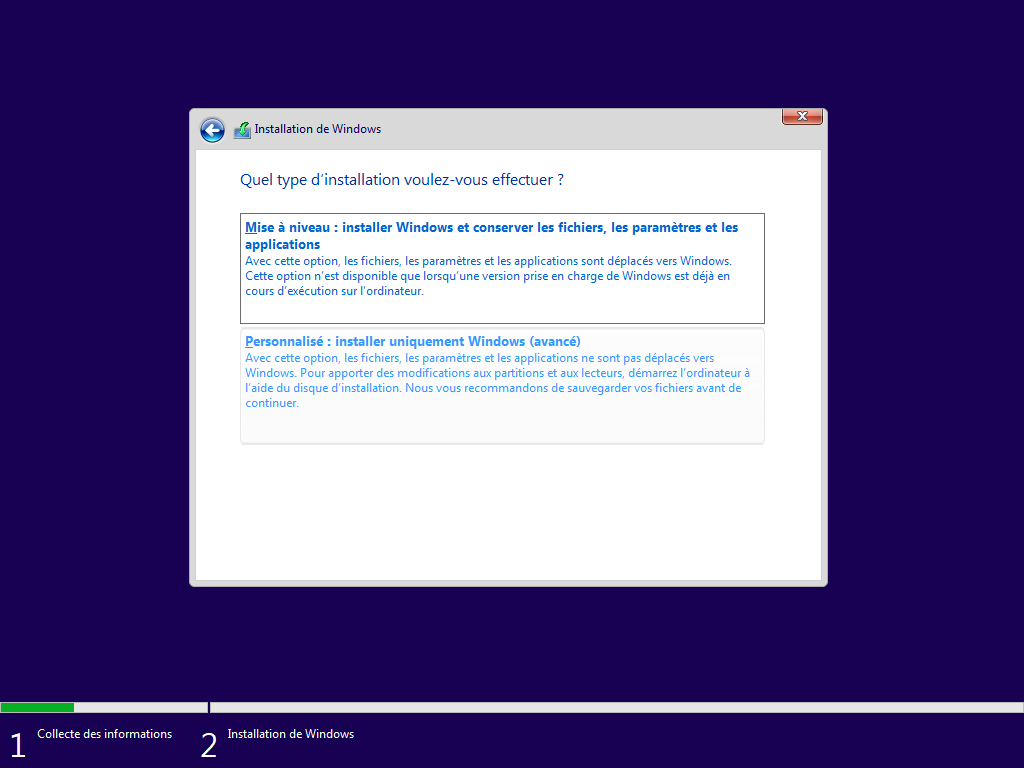
Écran caché, choisit l’installation « Personnalisée » :
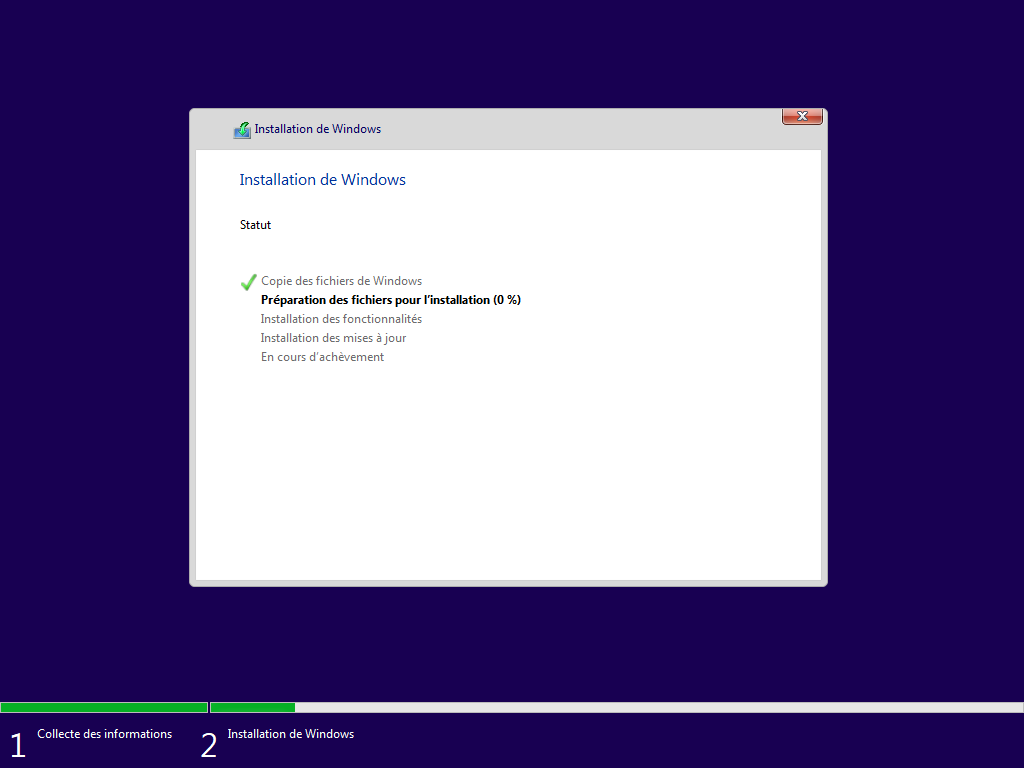
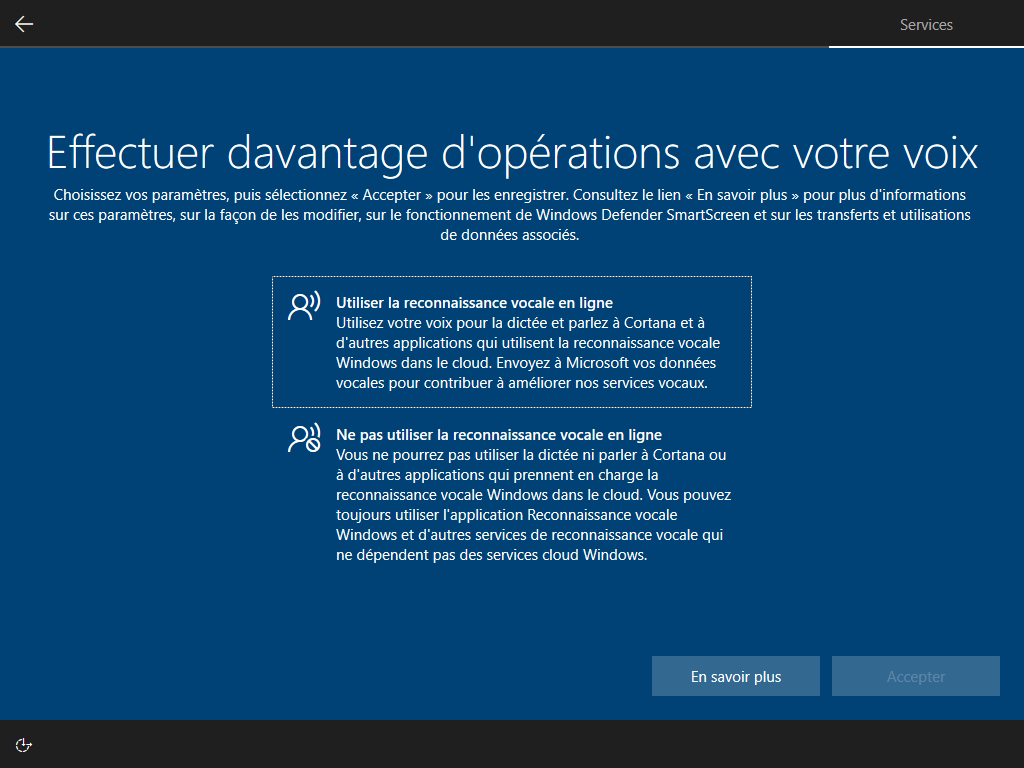
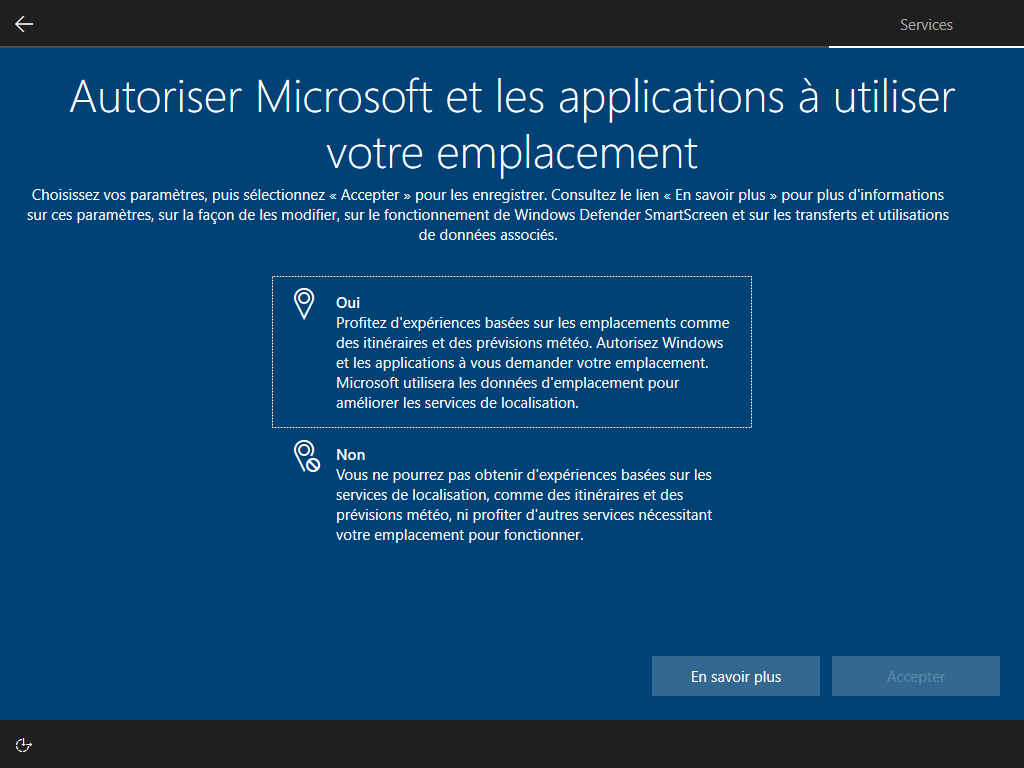
Affiché :
3 écrans cachés, --lang ou lang.ini définit la langue :

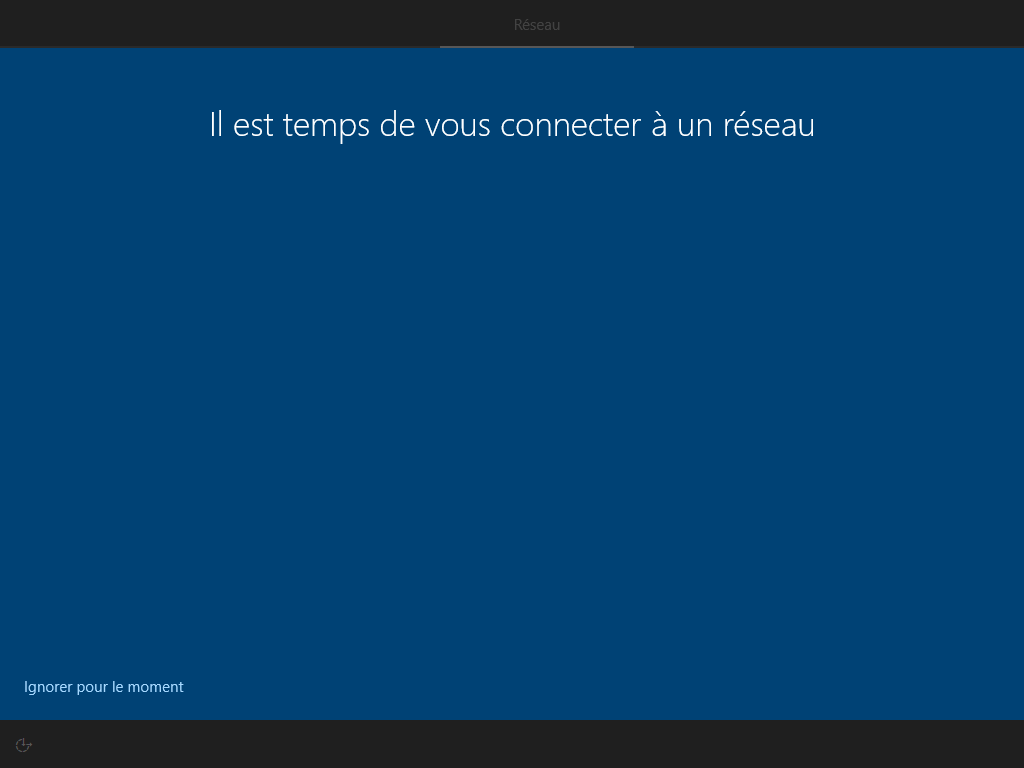
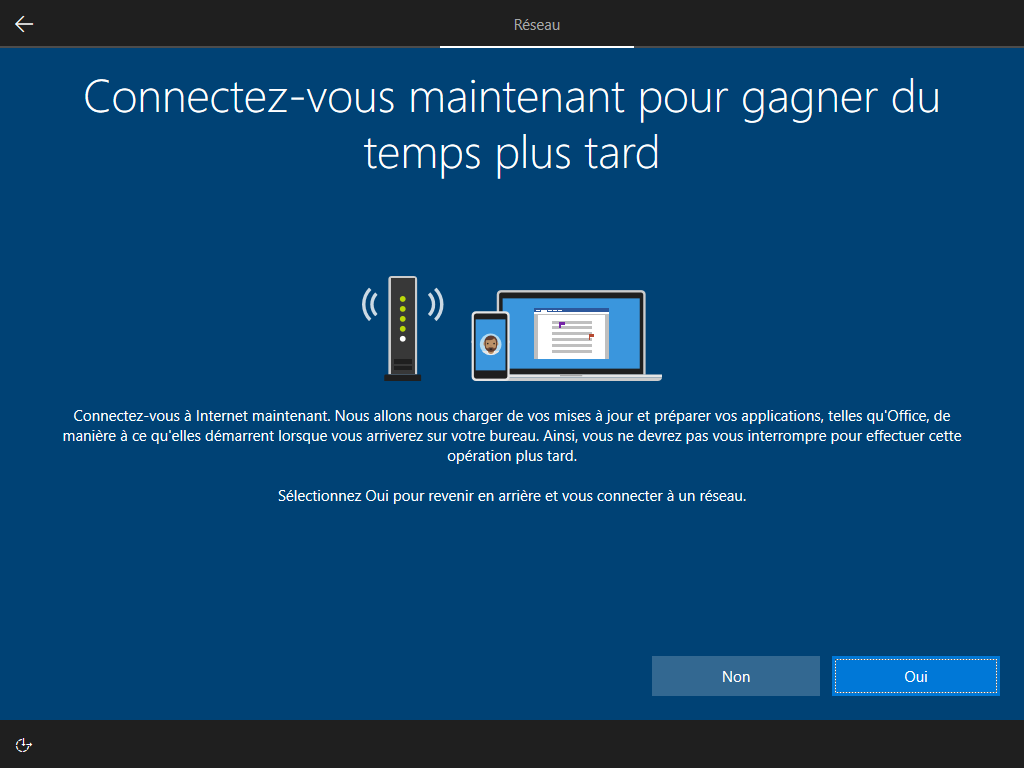
--network cache ces 2 écrans :
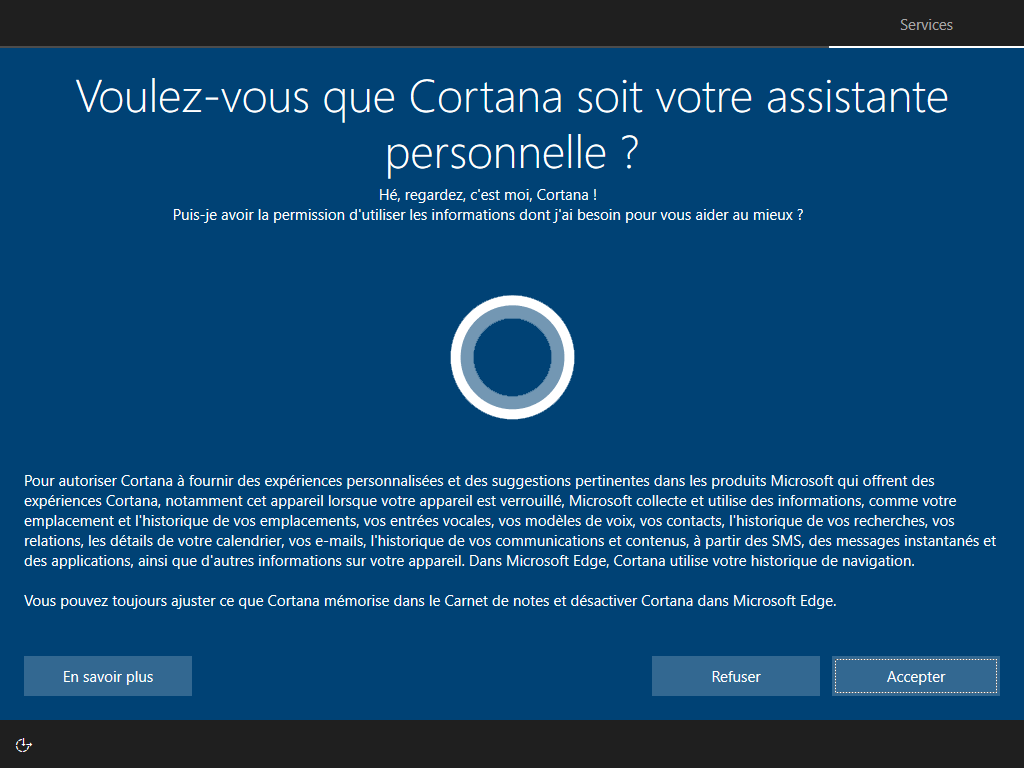
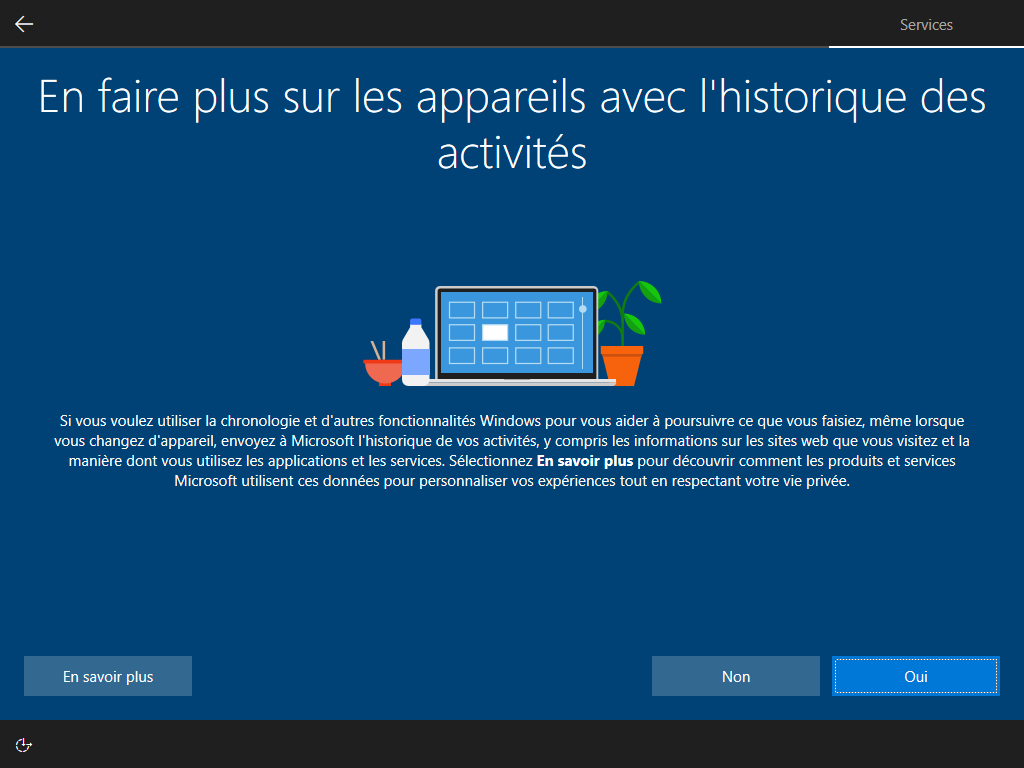
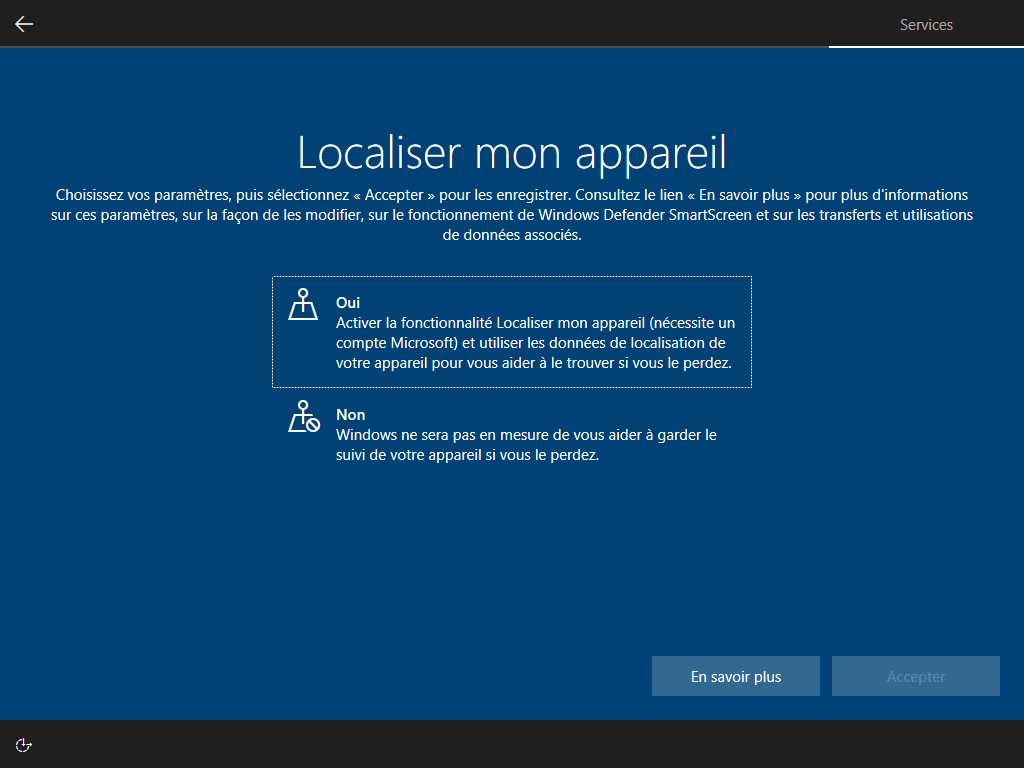
--microsoft cache ces 2 écrans :
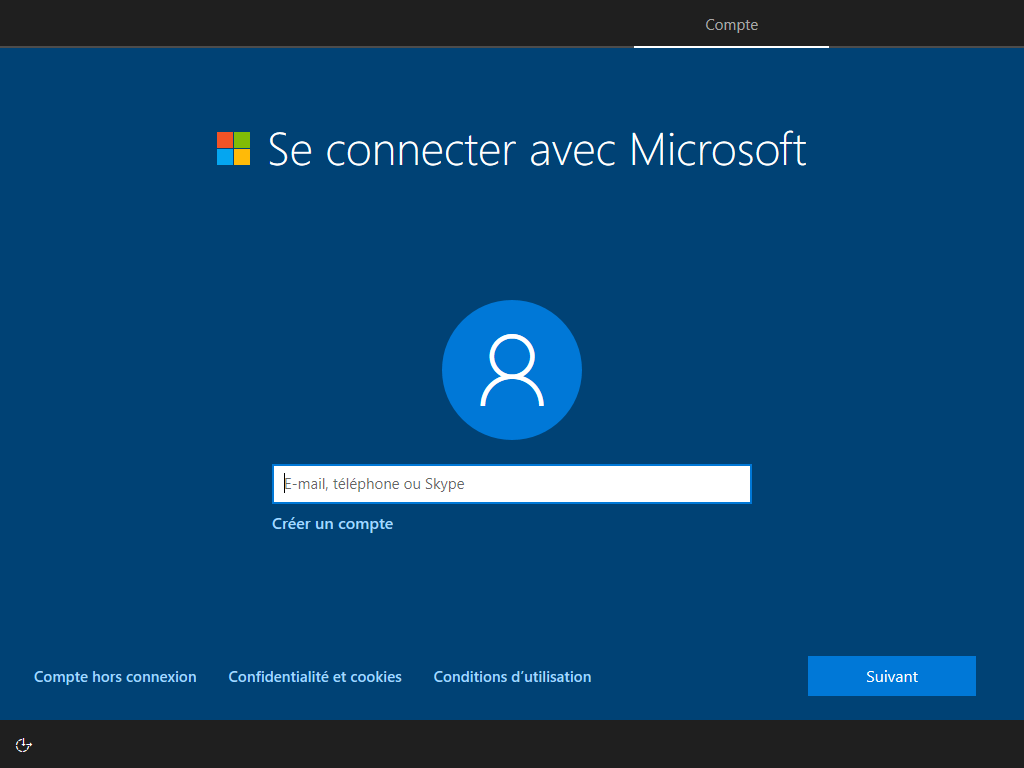
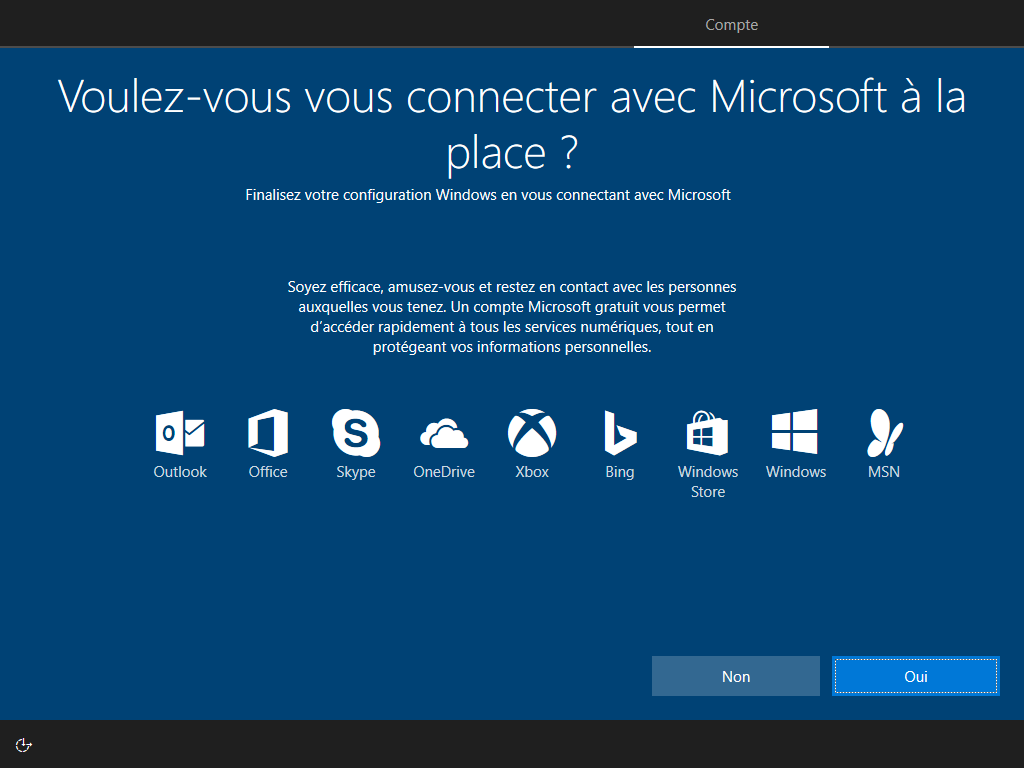
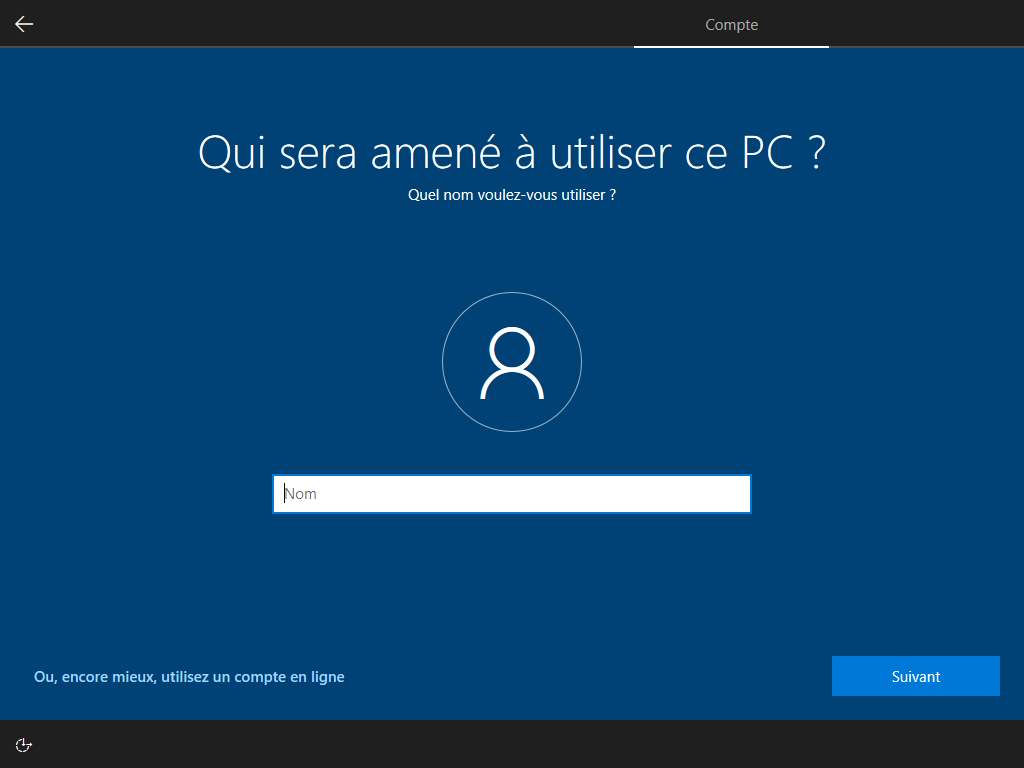
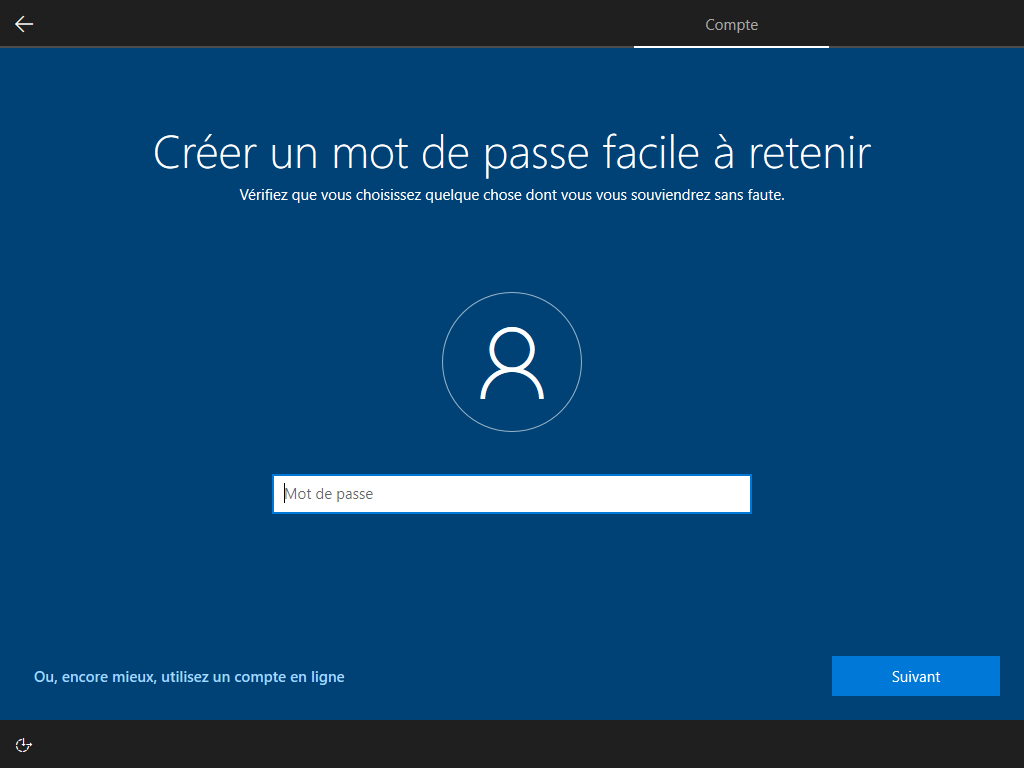
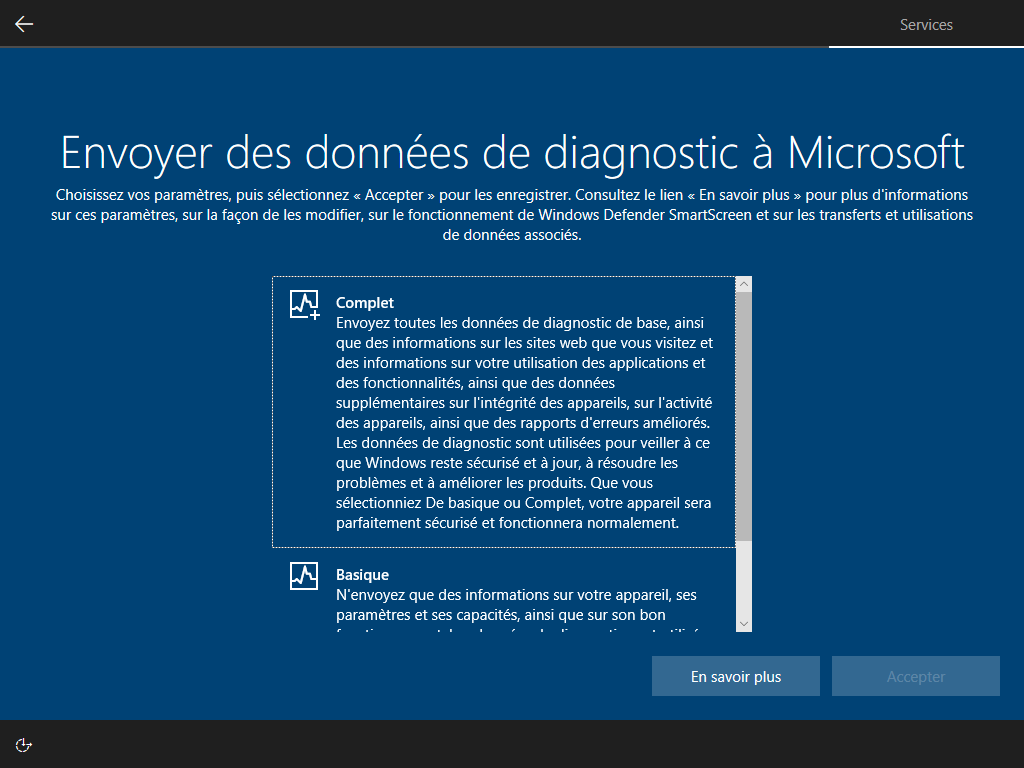
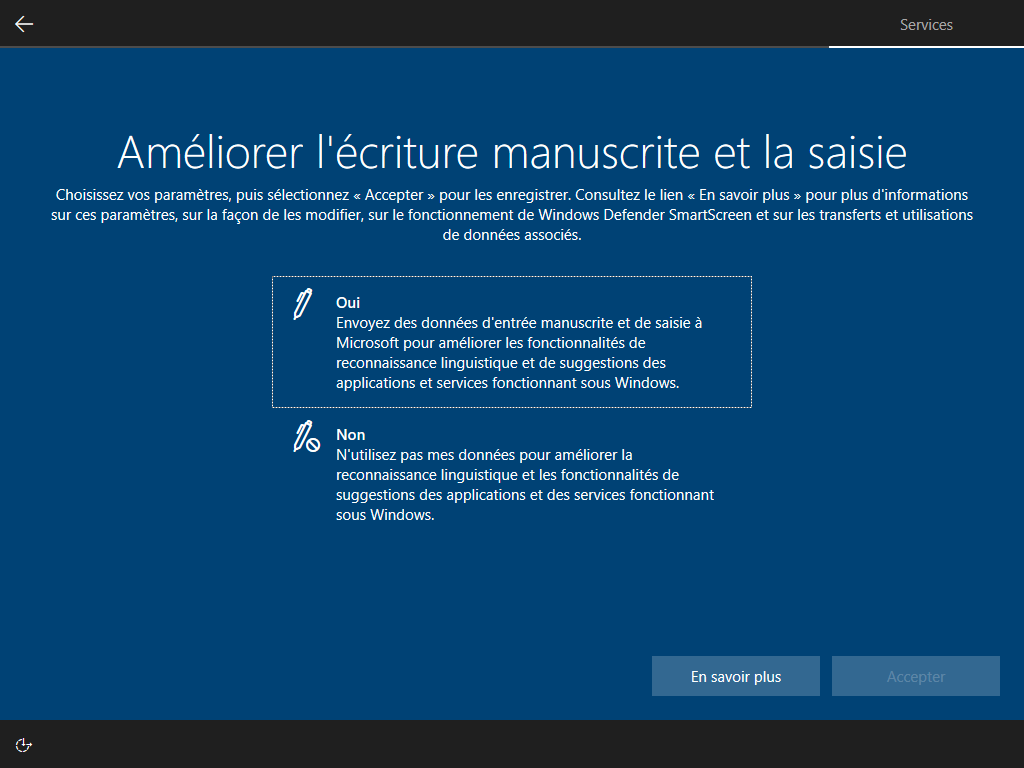
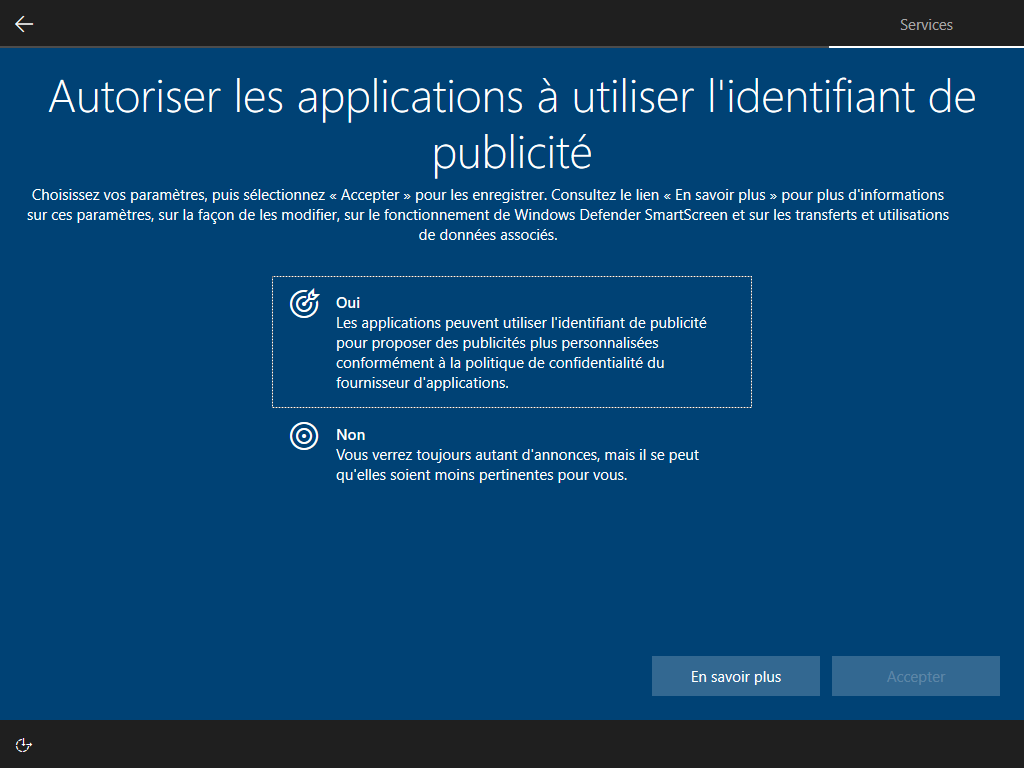
Affiché :

Écrire HKLM\Software\Microsoft\Windows\CurrentVersion\Policies\System\EnableFirstLogonAnimation = 0 dans install.esd est le seul moyen de cacher cette animation, <FirstLogonCommands> s’exécute trop tard :
Tests
💿 Français x64 💿 Anglais x64 — Famille Pro Éducation [1] — VirtualBox 6 — VMware 15 :
| 1809: | 13 novembre 2018 — Redstone 5 |
|---|
| [1] | L’édition Éducation est l’édition Entreprise sans support à long terme |